If you have forgotten the WiFi password of an existing network. And if you want to know about all known Networks that were previously connected to your computer. As a result, this article outlines how to check the password.
There are several ways to verify your saved wifi passwords in Windows 10. But the quickest and easiest one is to use Command Prompt (CMD). So, here’s how to verify your WiFi Password on Windows 10 using CMD in four simple steps:
Four easy steps to show wifi password windows 10 cmd :
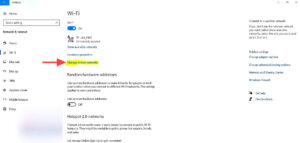
Open your wifi settings or type Network in the search bar and select Network & Internet & then click on Manage Known Networks.
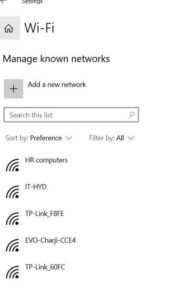
You will now have a list of known Wi-Fi SSIDs saved, so if you forget the password to any network, it is now simple to recall them all.
In my scenario, I have 5 recognized wifi networks, and fortunately, none of the saved passwords are known to me.
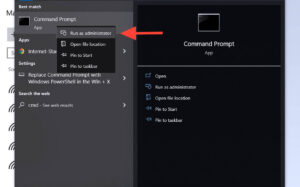
Using administrator access, launch the Command Prompt by RUN AS ADMINISTRATOR.
Now type the command “netsh WLAN show profile” and hit enter
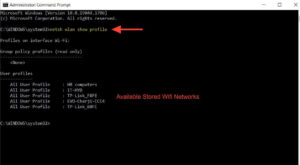
It will display the SSIDs or Profiles of the previously saved WiFi networks. We can now put them in a folder.
You need to go to This PC > C : > Create a folder with any name you want, here I have created with name “pass” C:\pass
Now, using this folder location, run the following command to save the password files in the folder.
“netsh WLAN export profile folder=C:\pass key=clear”
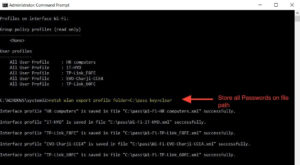
You can see that all files are now placed in our target folder, however, you can inspect the files by going to Path in C.
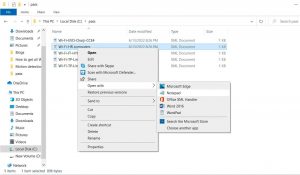
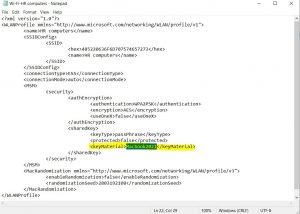
So, right-click on any file and open it in Notepad to uncover the password hidden within the text file.
In my case, I have shown one of my WiFi passwords for HR-Computers.
Read Also: SURVEILLANCE ARTIFICIAL INTELLIGENCE & MOTION DETECTION TYPES


